Files upload
If you want to allow your customers uploading files, you can easily do so with Form-Data.
This feature is only available with the Premium plan.
Form-Data provides a file upload widget. When a user uploads files, they are uploaded directly to your files-bucket. You can get direct link to download them from the notification email, or from the Submissions Inbox.
To enable files-upload follow these steps:
-
Add a standard
inputfield to your HTML form: In your HTML form, in the place where you want the upload button to appear, add an input field and set it's role attribute as follows<input role="form-data-uploader">Don't worry about formatting this field, it will be replaced with the upload button.
-
Import css and js: In the
headof the page add the following css:<link href="https://static.form-data.com/css/form-data-uploader.v1.css" rel="stylesheet">Before the
</body>closing tag, add the following js:<script src="https://static.form-data.com/js/form-data-uploader.v1.js"></script> -
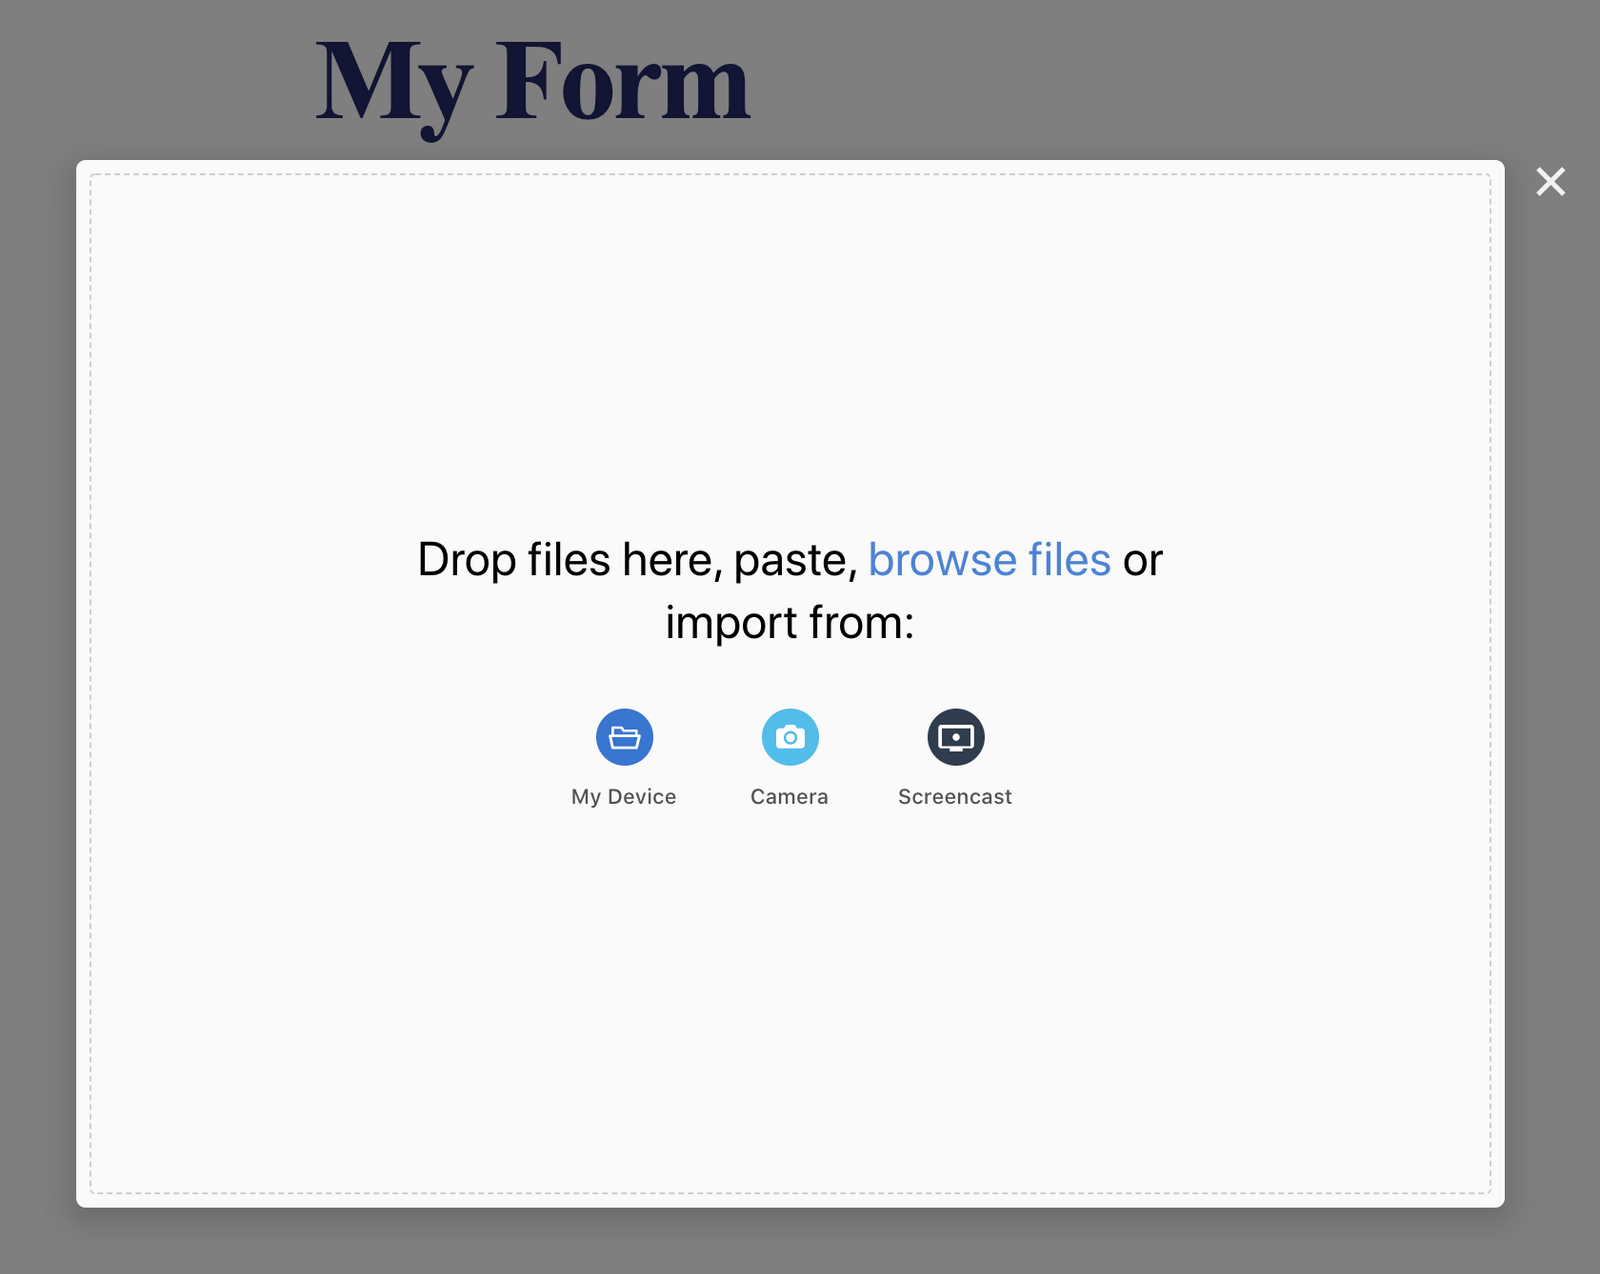
Test Before we move to customizing the experience, you can test your form. When you refresh your page, you should see that the input element was replaced with an upload button. Clicking it will open the upload dialog.
You can try uploading a file and then submitting the form. You should get a link to download the file in the notification email and also in the Forms Inbox.
NoteThe files are uploaded before the user submits the form. The form's submit only sends the metadata related with the uploaded files. This improves the user experience because the user can see the upload process, and even manipulate images before uploading them.
Customization
There are multiple aspects of the experience which can be customized by adding data attributes to the input field that you have created in step 1.
Button label
Add_ data-fd-button-label attribute and set the label to anything that you want. E.g.
<input role="form-data-uploader" data-fd-button-label="Upload your CV">
Button style
The button is created with the class form-data-upload-button. You can set its style by creating a matching css class.
Disable webcam
Add data-fd-disable-webcam attribute and set it to true if you don't want the user to be able to share an image or video from her webcam. E.g.
<input role="form-data-uploader" data-fd-disable-webcam="true">
Disable screen capture
Add data-fd-disable-screen-capture attribute and set it to true if you don't want the user to be able to share a screen captured image or video. E.g.
<input role="form-data-uploader" data-fd-disable-screen-capture="true">
Maximum file size
Add data-fd-max-file-size attribute to define the maximum file size of a single file, in bytes. For example, if you wish to limit the file to 500KB, set the value to 512000 (500 * 1024). If you wish to set it to 7MB, set the value to 7340032 (7 * 1024 * 1024).
The default value is 10MB.
E.g.
<input role="form-data-uploader" data-fd-max-file-size="5242880">
Maximum number of files
Add data-fd-max-number-of-files attribute to define the maximum number of files that can be uploaded. The default is 5
E.g.
<input role="form-data-uploader" data-fd-max-number-of-files="1">
Allowed file types
Add data-fd-allowed-file-types attribute to control which file types can be uploaded.
- You can specify one or more types by separating them using a comma.
- Each type can be represented by a mime-type string, or a wildcard mime-type string, or a file extension using a period.
- You can combine all types in one list.
Using mime type checks the actual data of the file, whereas setting the extension only checks the file name. Therefore you should favour using mime types, if possible.
The default is image/* which means any image type.
Here are a few examples:
// Only PNG
<input role="form-data-uploader" data-fd-allowed-file-types="image/png">
<input role="form-data-uploader" data-fd-allowed-file-types=".png">

// Any image or Video
<input role="form-data-uploader" data-fd-allowed-file-types="image/*, video/*">

// PDF or MS-Word doc
<input role="form-data-uploader" data-fd-allowed-file-types=".pdf, .doc, .docx">
Inline
Add data-fd-inline attribute and set it to true if you want the upload dialog to appear as part of your form rather than a popup experience.
E.g.
<input role="form-data-uploader" data-fd-inline="true">
Height
Only in case of inline experience, you can add data-fd-height attribute to control the height of the upload widget, in pixels. The recommended height is 42px + (71px x number of file you want to be able to see without scroll)
E.g.
<input role="form-data-uploader" data-fd-inline="true" data-fd-height="250">
Locale
You can control the language and locale of the widget by setting data-fd-locale attribute to one of the following supported locales:
Arabic - SAUDI ARABIA -              ar_SA
Bulgarian - BULGARIA -               bg_BG
Czech - CZECHIA -                    cs_CZ
Danish - DENMARK -                   da_DK
German - GERMANY -                   de_DE
Modern Greek - GREECE -              el_GR
English - UNITED STATES OF AMERICA - en_US
Spanish - SPAIN -                    es_ES
Spanish - GREENLAND -                es_GL
Persian - IRAN -                     fa_IR
Finnish - FINLAND -                  fi_FI
Galician - SPAIN -                   gl_ES
Hebrew - ISRAEL -                    he_IL
Croatian - CROATIA -                 hr_HR
Hungarian - HUNGARY -                hu_HU
Indonesian - INDONESIA -             id_ID
Icelandic - ICELAND -                is_IS
Itaian - ITALY -                     it_IT
Japanese - JAPAN -                   ja_JP
Korean - KOREA -                     ko_KR
Norwegian Bokmål - NORWAY -          nb_NO
Dutch - NETHERLANDS -                nl_NL
Polish - POLAND -                    pl_PL
Portuguese - BRAZIL -                pt_BR
Portuguese - PORTUGAL -              pt_PT
Romanian - ROMANIA -                 ro_RO
Russian - RUSSIAN FEDERATION -       ru_RU
Slovak - SLOVANIA -                  sk_SK
Serbian - SERBIA (Cyrillic) -        sr_RS_Cyrillic
Serbian - SERBIA (Latin) -           sr_RS_Latin
Swedish - SWEDEN -                   sv_SE
Thai - THAILAND -                    th_TH
Turkish - TURKEY -                   tr_TR
Ukrainian - UKRAINE -                uk_UA
Vietnamese - VIET NAM -              vi_VN
Chinese - CHINA -                    zh_CN
Chinese - TAIWAN -                   zh_TW
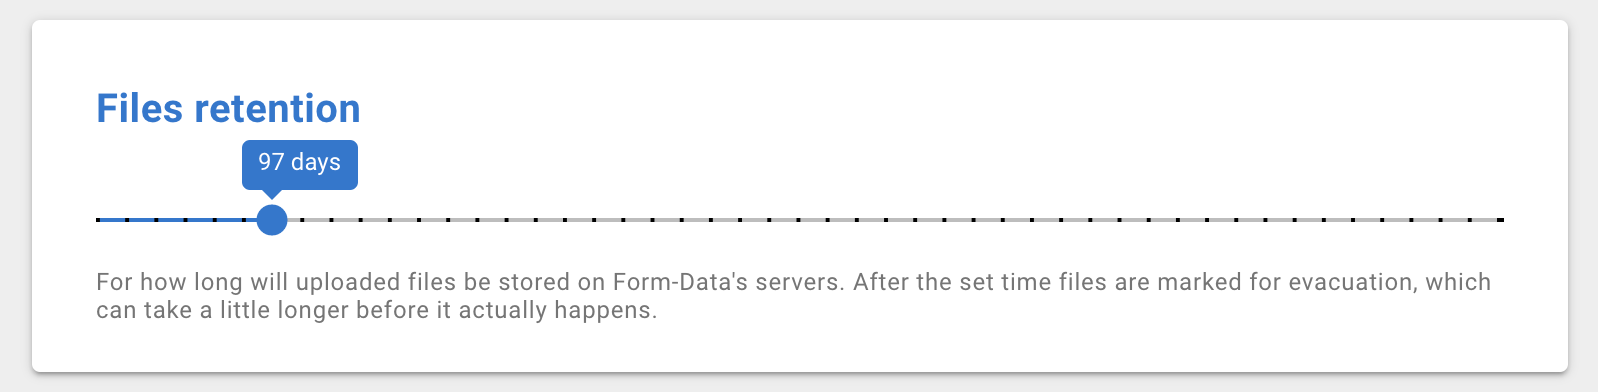
Files retention
You can control how much time uploaded files will be kept in your storage. This is useful for both regulation management and capacity optimization. This is controlled from your form's settings page in Form-Data web application.
Refer to Files retention for more information.
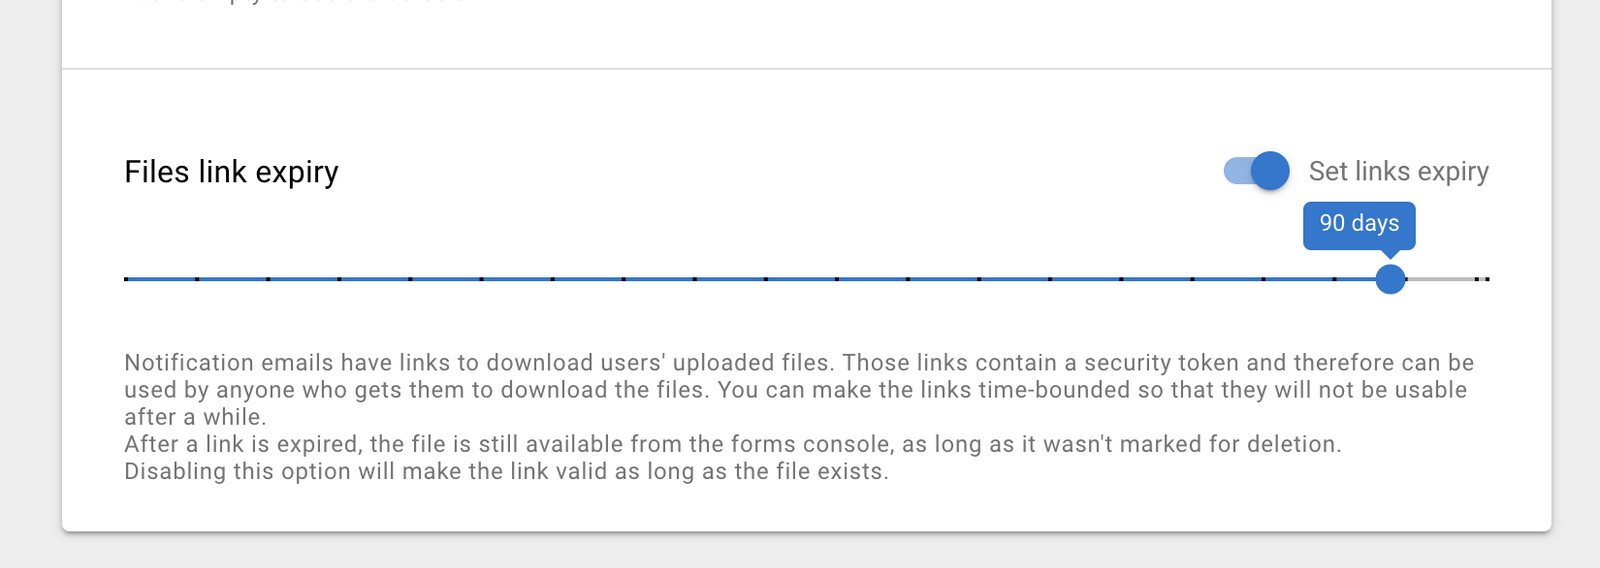
Emailing links to files
The link to download files in the notification email contains a secure signed token to fetch the file. Therefore, anyone who gets this link will be able to download the file without log-in. It is possible to limit the time period for which the link will work. To do that, go to the form settings > email > notification email, and set the files link expiry. If you turn off the toggle, the link will be available as long as the file persists.