Webflow
Webflow is a great platform for building websites. One of its nice features is that you can export your site's html, so you can host it anywhere without paying for Webflow hosting.
But once you export your Webflow site, how can you handle form submissions?
Form-Data.com provides a secure service that accepts your form submissions, filters spam, notify you by email, sends a templated email to your client, and integrates with any CRM or other tool that you are using through Zapier.
In order to process your submissions through form-data follow these steps:
1. Login to Form-Data
Go to https://app.form-data.com and login or signup
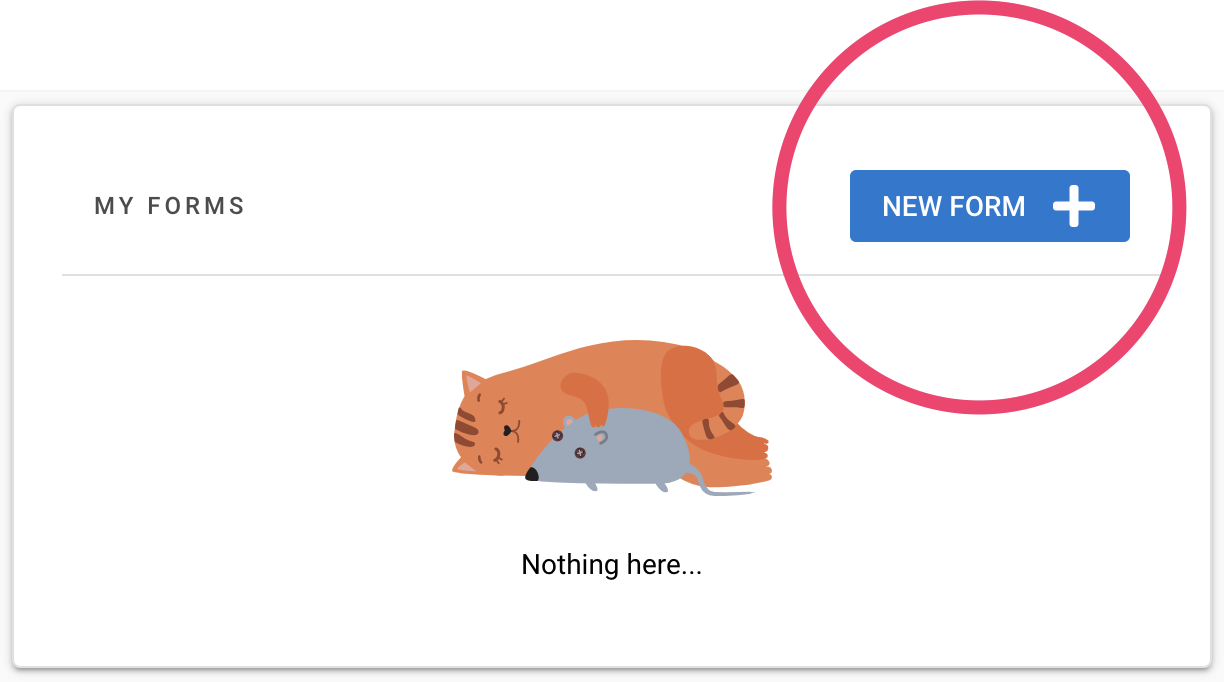
2. Click "New Form" button
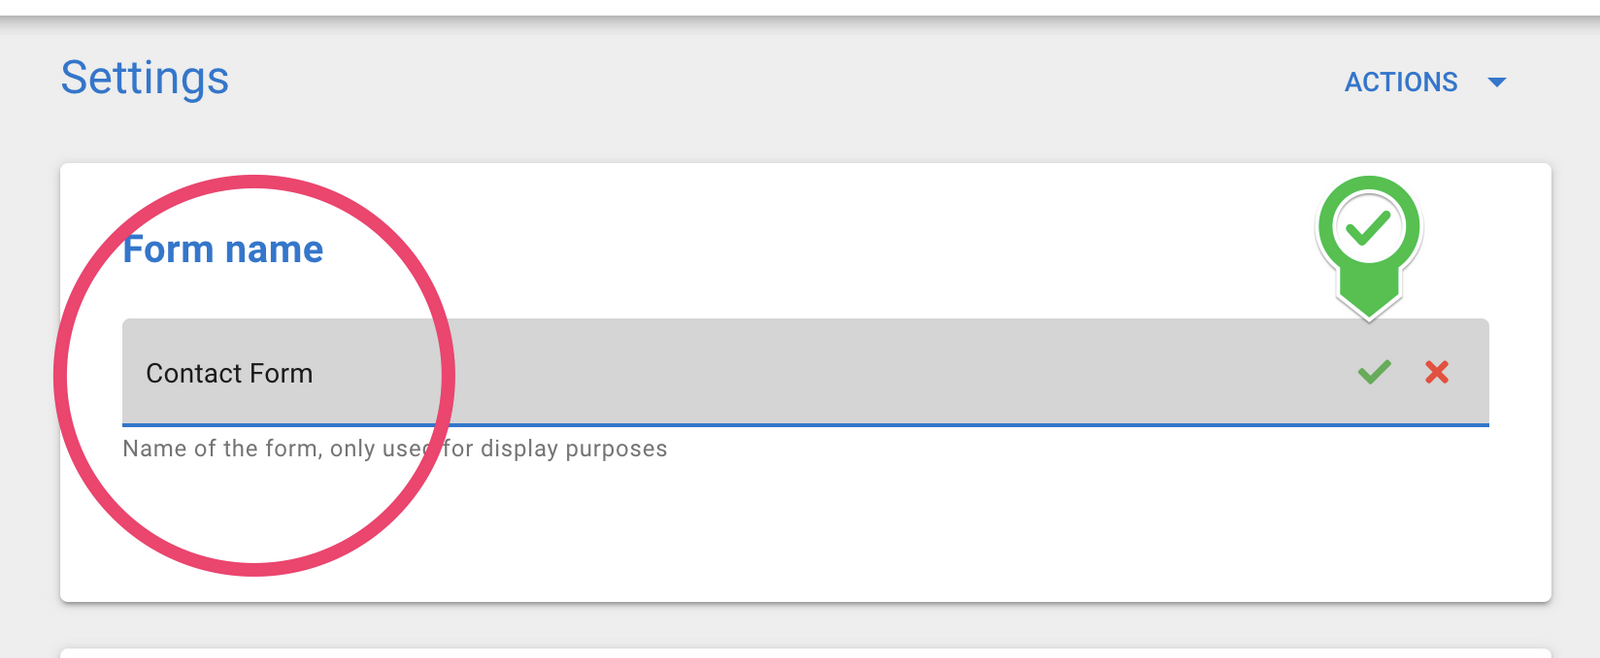
3. Name your form
Give your form a meaningful name, and save by hitting Enter or the green check
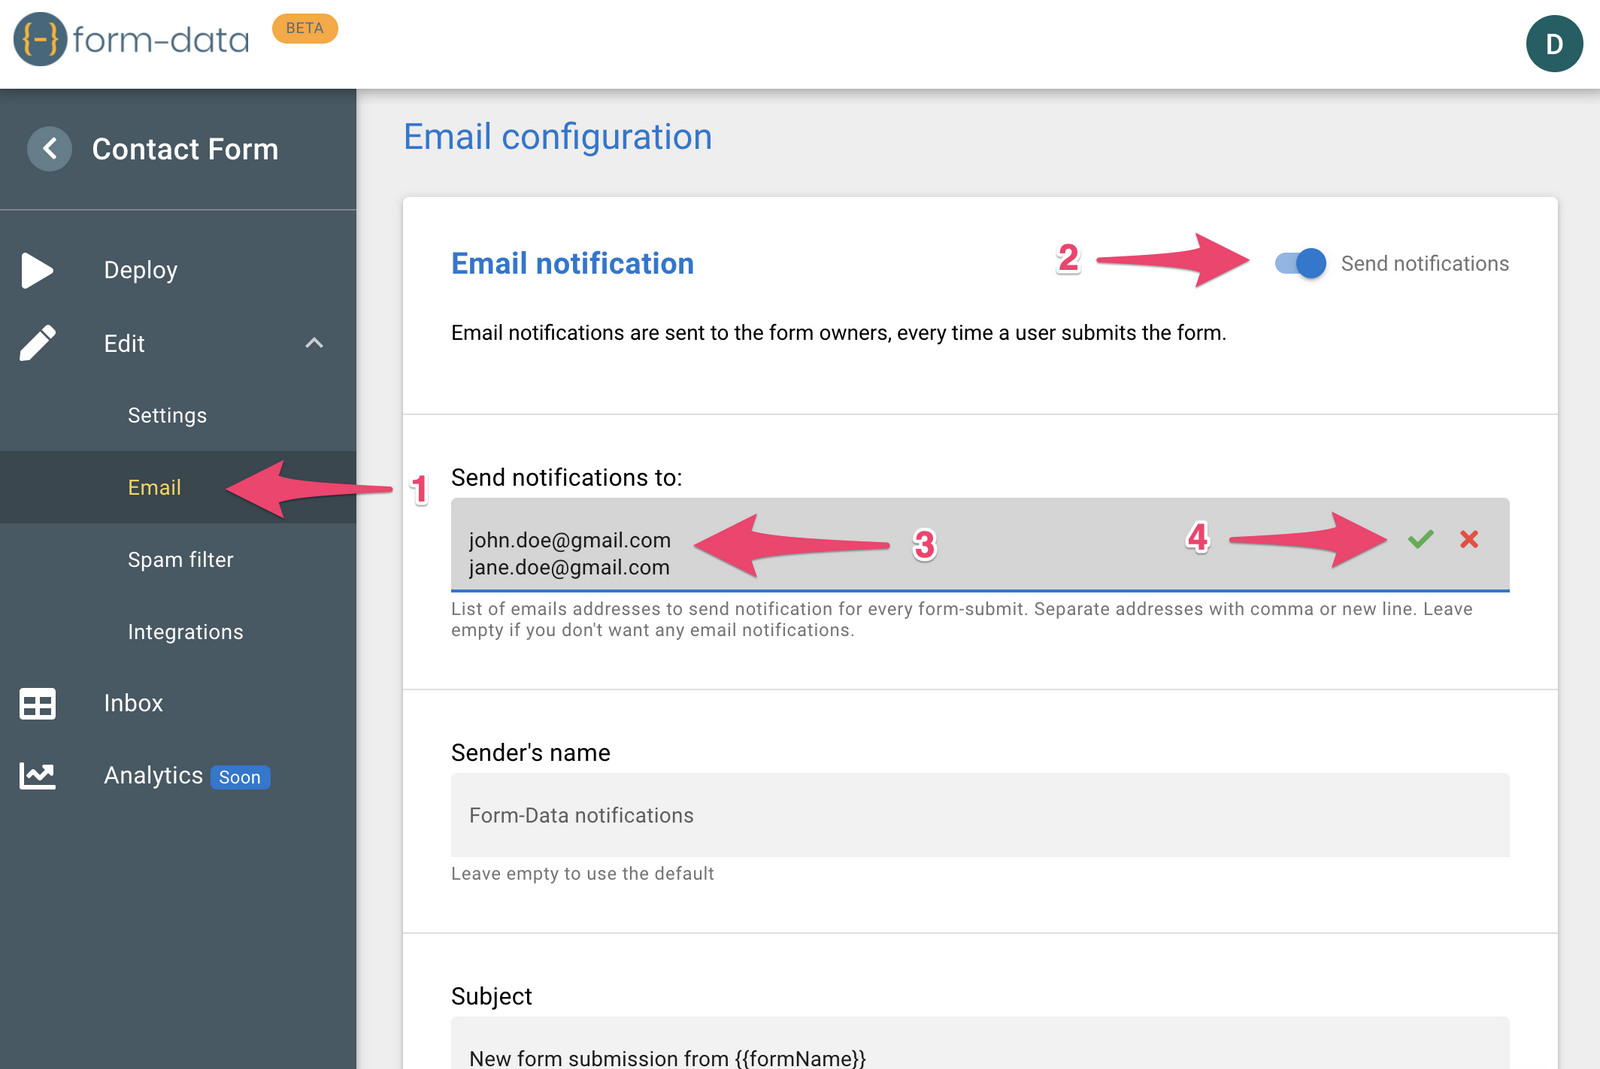
4. Set email notifications
- Click the Email menu
- Enable the Send notifications toggle
- Enter the email address to which you want the notifications to be sent. You can can enter multiple addresses by using comma or new-line
- Click the green checkmark to save.
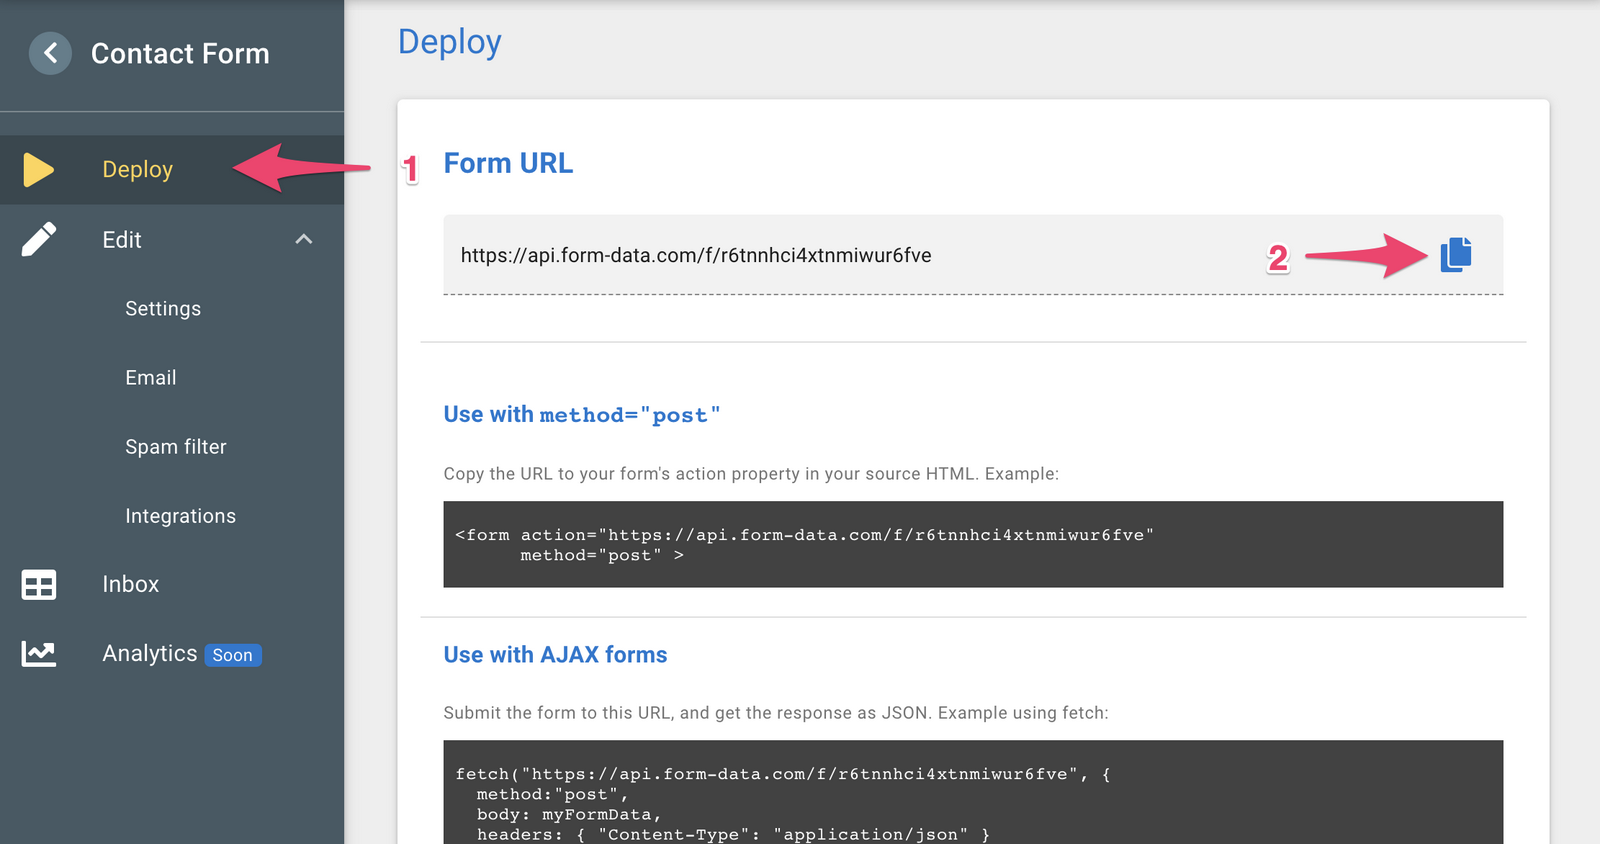
5. Time to deploy
- Click the Deploy menu
- Copy the form's URL
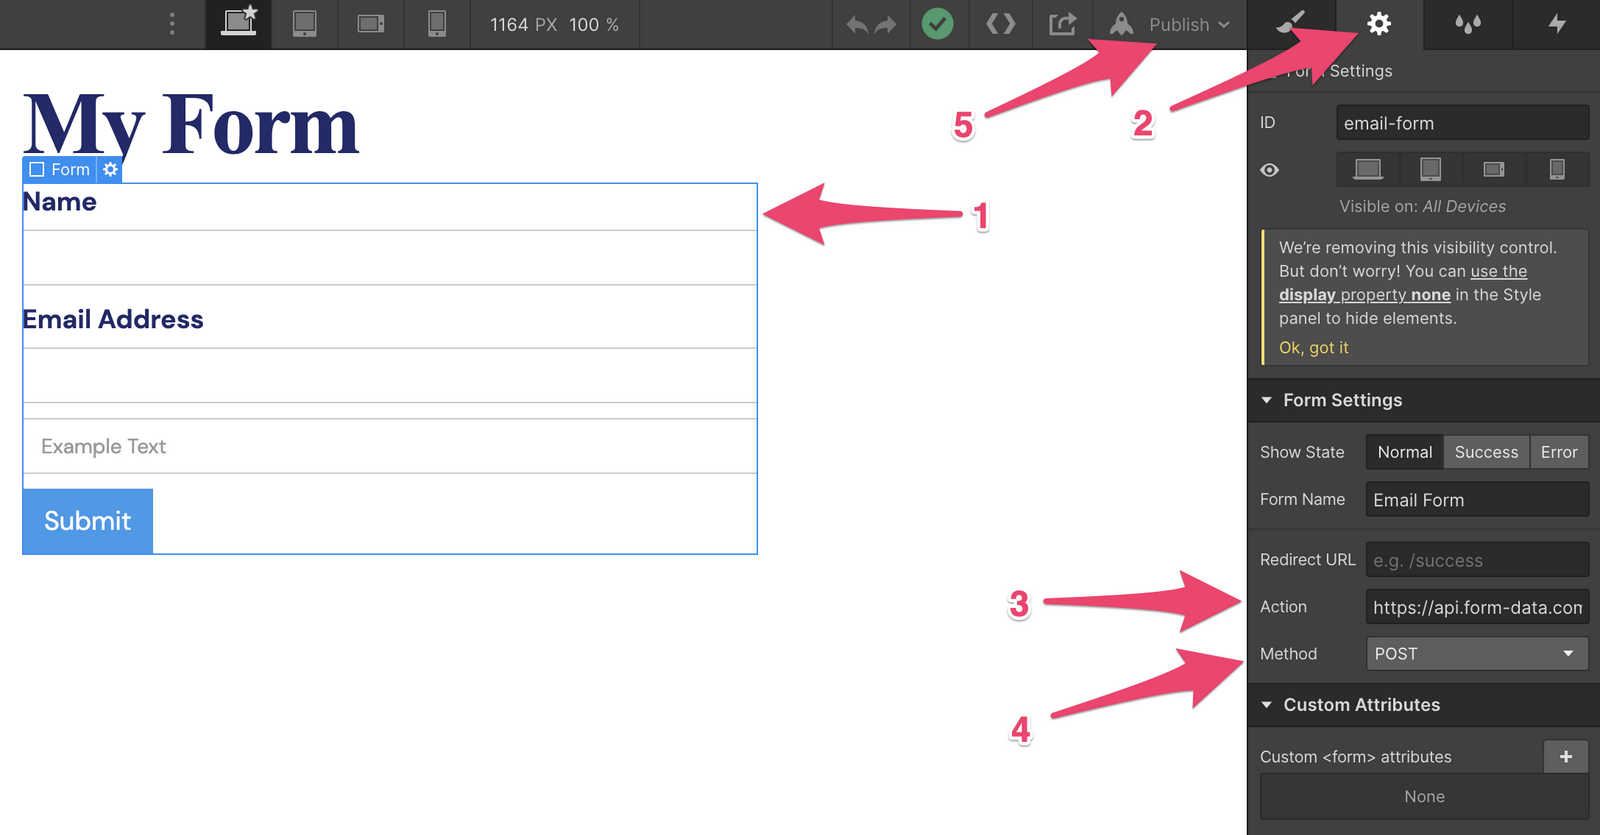
6. Configure Webflow
In your Webflow editor -
- Select your form
- Click the Settings icon
- In the form's Action field paste the form's URL that you've copied
- Make sure that the Method is set to POST
- Publish
7. Sit back and relax
You're good to go! Submissions made to your Webflow site will now be sent to your email, and also appear in your Form-Data Inbox.
Take the time to explore all other options in Form-Data."